

Deployments
Chronoter Platform enables automatic deployment through GitHub repository integration. This page explains how deployment works and how to check deployment history.
How Deployment Works
Automatic Deployment
When you push to the connected branch of your GitHub repository, build and deployment are automatically triggered.
Push to GitHub → Build starts → Reflected on documentation site
Manual Rebuild
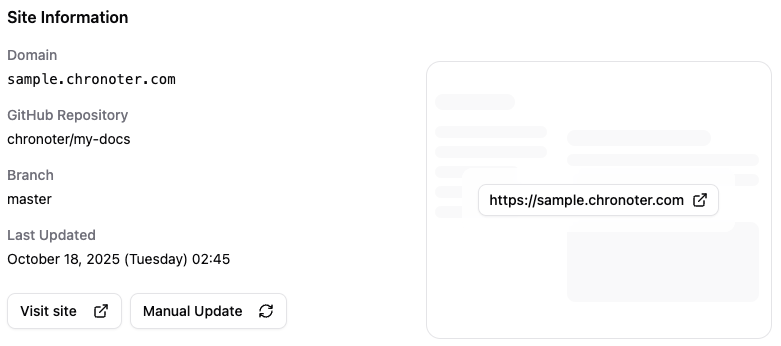
You can also manually trigger a rebuild from the Project dashboard.
- Access the Project dashboard
- Click the "Manual Update" button
- Build starts with the latest repository content
Build History
You can check past build history on the Project dashboard.
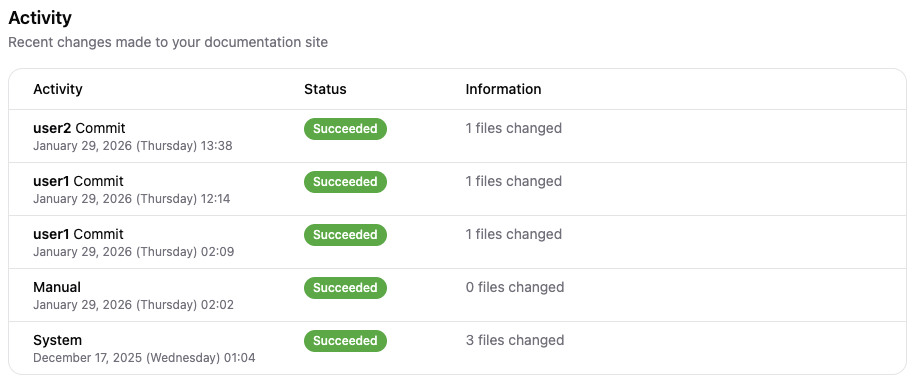
History Fields
| Field | Description |
|---|---|
| Activity | Build trigger (auto/manual/system) |
| Status | Build state |
| Information | Messages about the build |
Activity Types
| Type | Description |
|---|---|
| Auto | Automatic deployment triggered by GitHub push. Committer name is displayed |
| Manual | Deployment triggered by manual rebuild |
| System | Automatic processing by the system |
Status Types
| Status | Description |
|---|---|
| Pending | Build is waiting |
| Running | Build is in progress |
| Succeeded | Build completed successfully |
| Failed | Build failed |
When Build Fails
When a build fails, an error message is displayed in the "Information" column of the history.
Check the error message and run chronoter dev in your local environment to identify the issue. After fixing the problem, push to GitHub and the build will automatically run again.